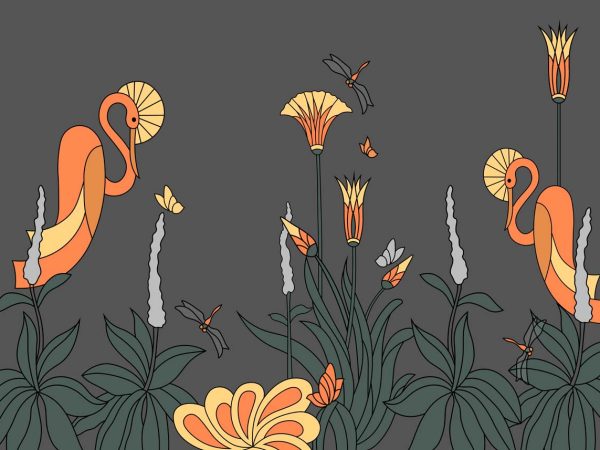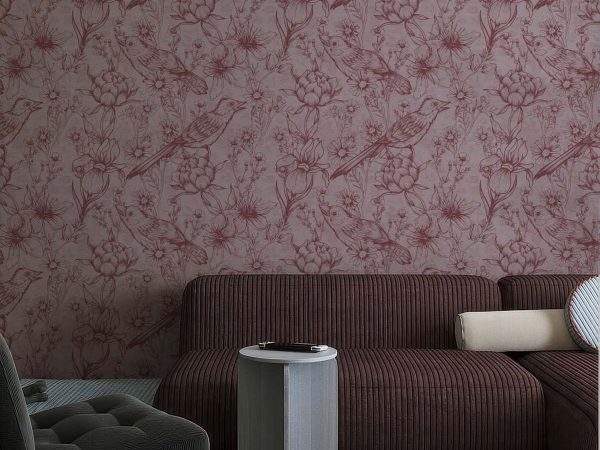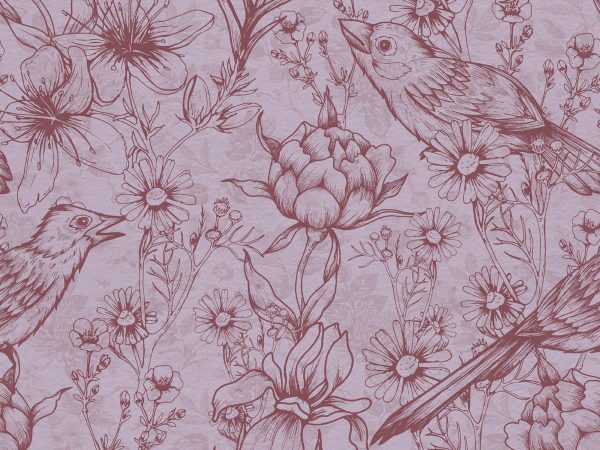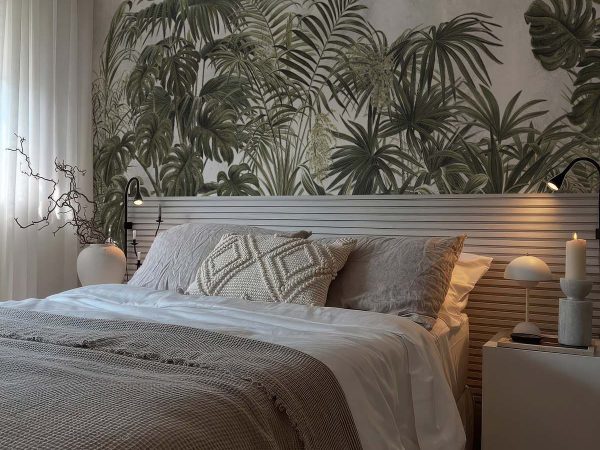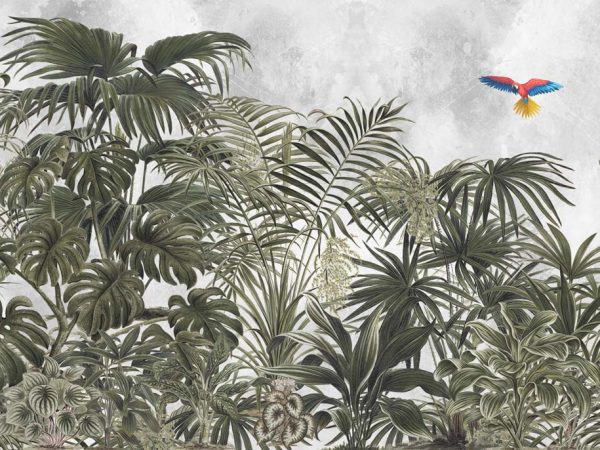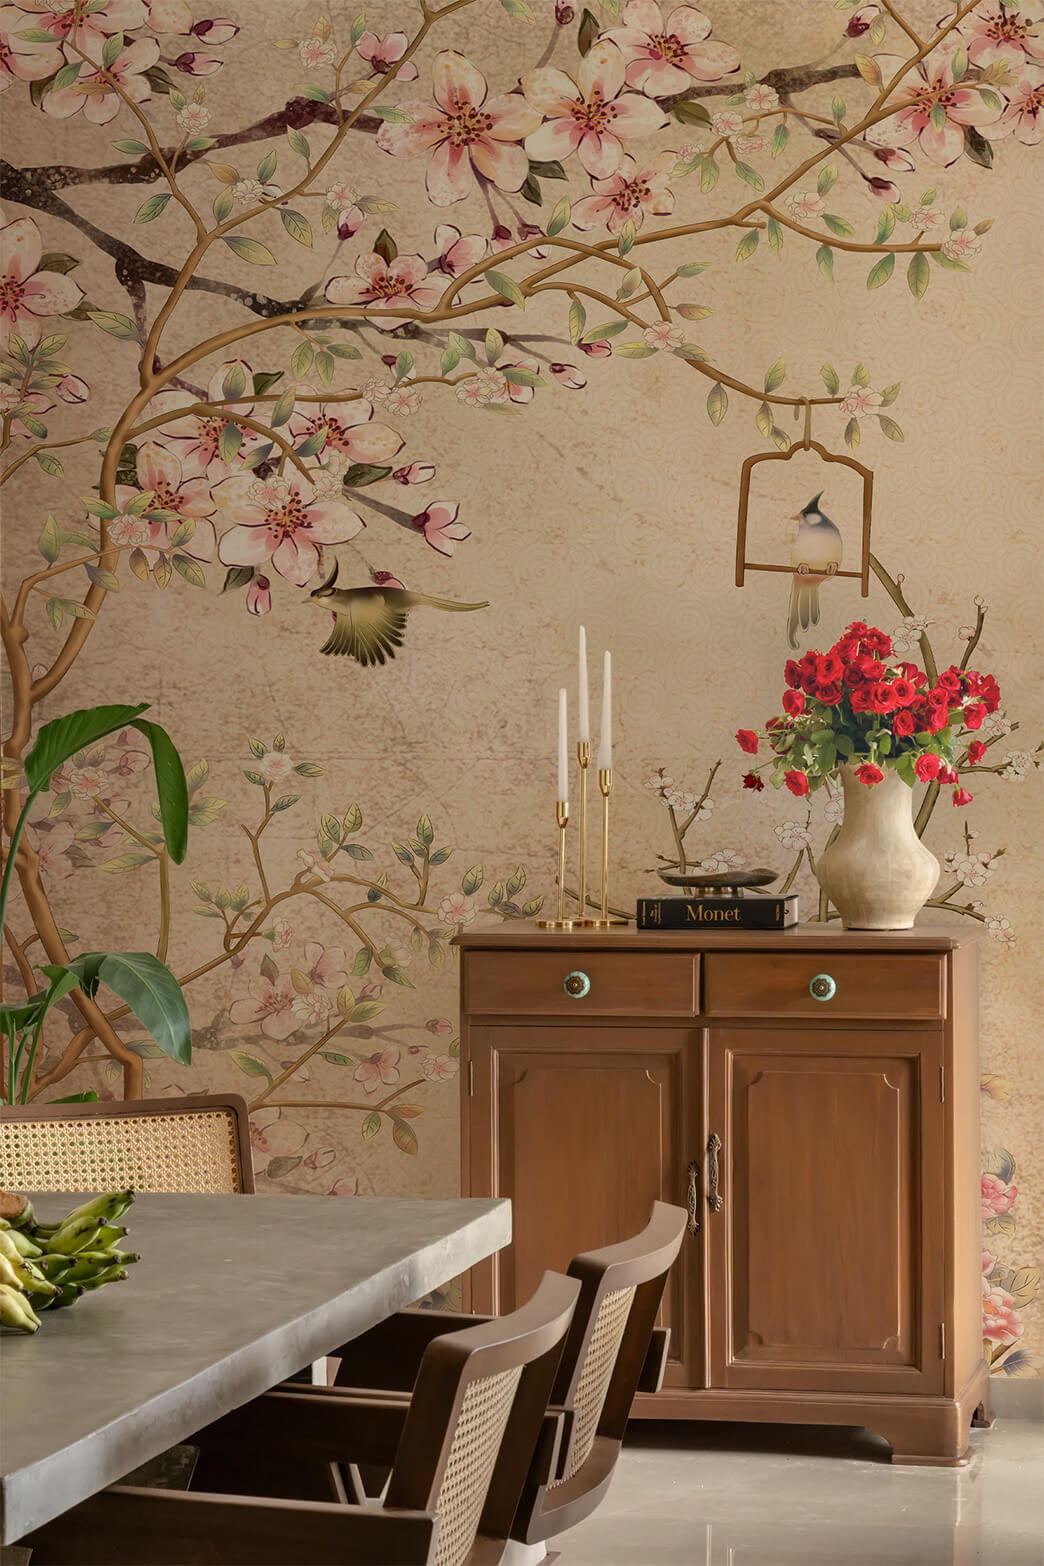

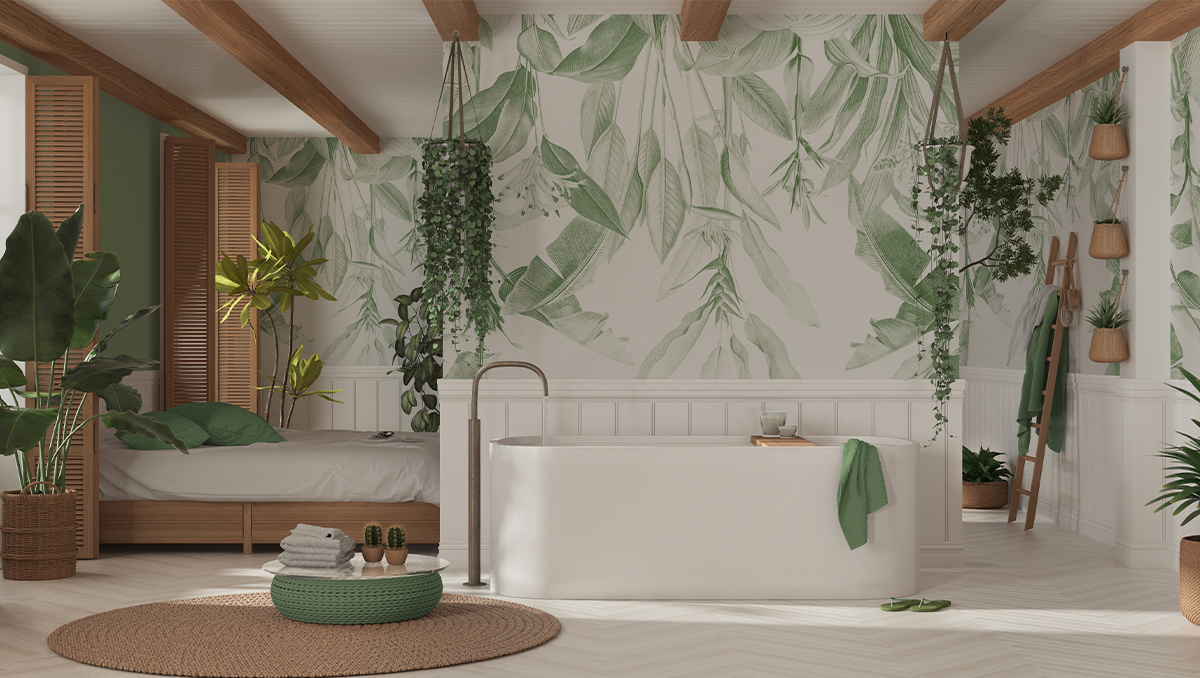
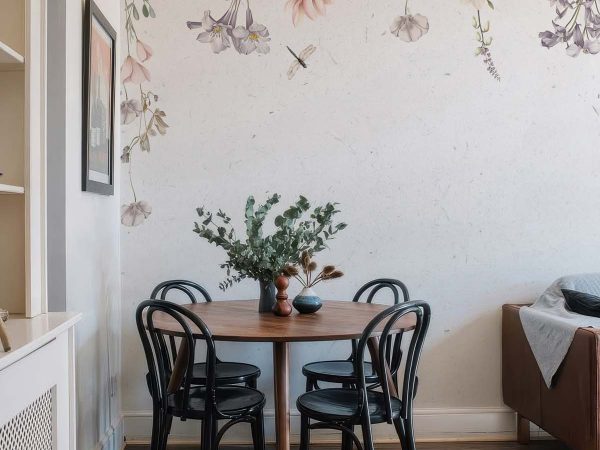

Wallpaper has made a stylish comeback—and it’s easy to see why. Paint might give you color, but wallpaper gives you character. It can bring in textures, patterns, and artistry that transform even the plainest of walls into a talking point. With Magicdecor’s VOC-free, eco-certified wallpapers, you can create your dream look without worrying about toxins, odors, or flimsy finishes.
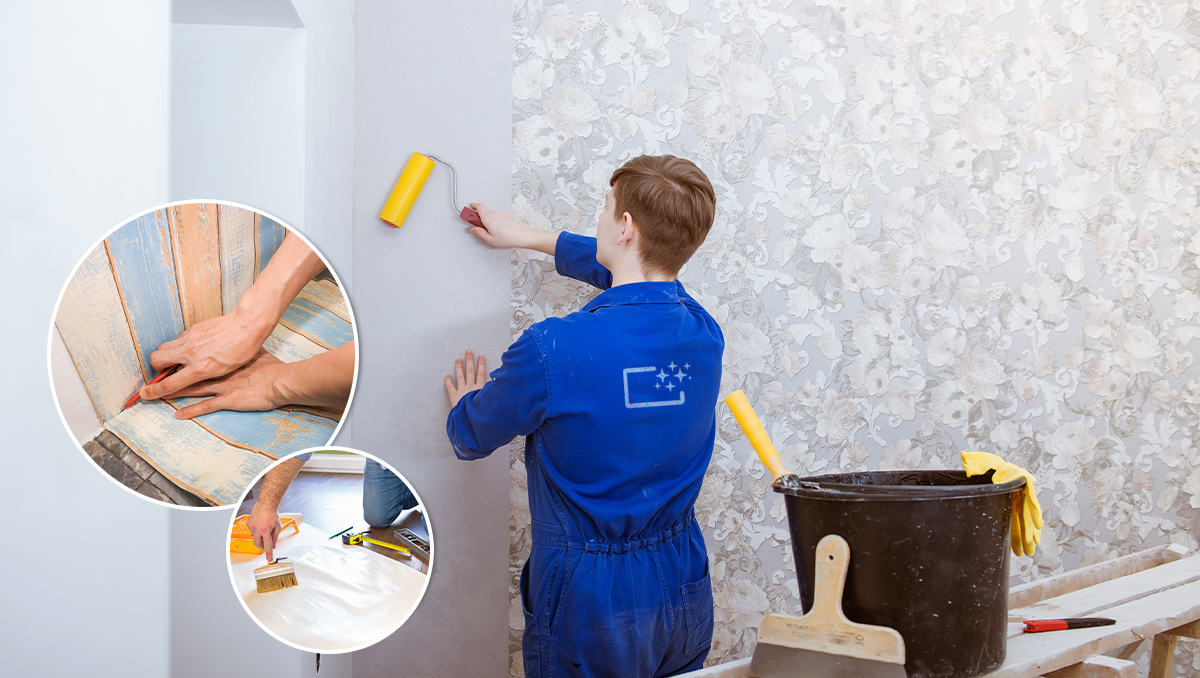
But let’s be real—if you’re thinking “Wallpaper installation sounds complicated”—you’re not alone. The good news? It’s much simpler than it looks. With the right prep, tools, and a little patience, you can achieve a finish that feels neat, polished, and long-lasting.
This guide will walk you through the process step by step—perfect for beginners ready to roll up their sleeves.
Before you start, get these essentials ready:
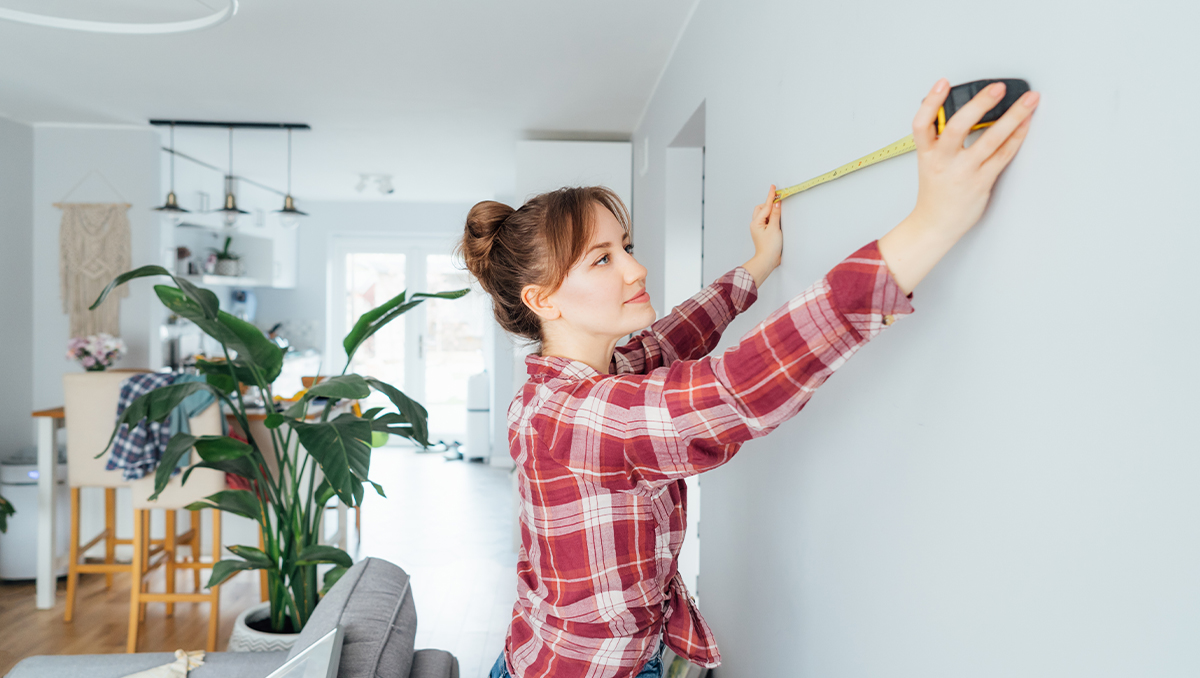
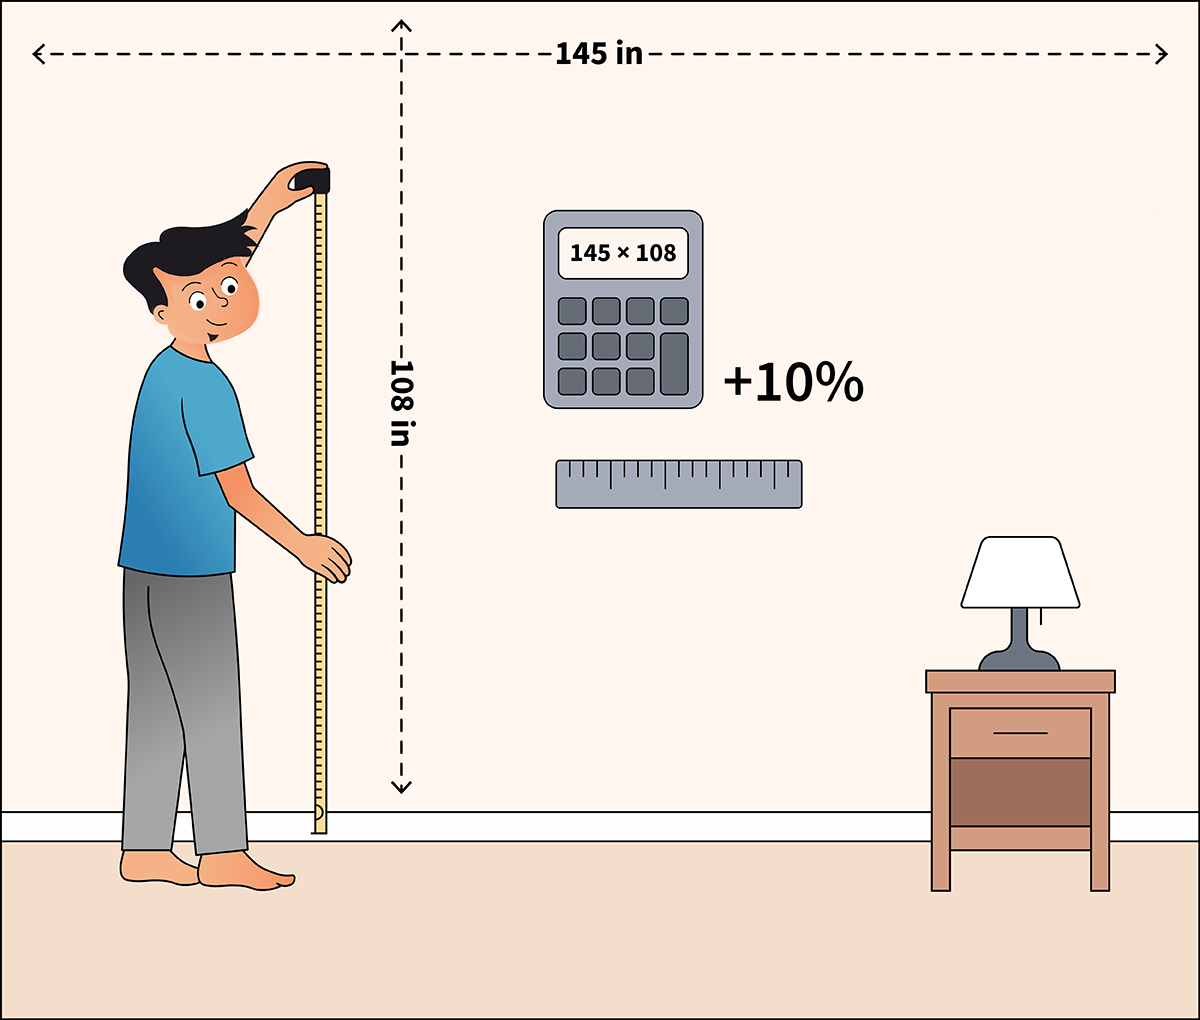
 Measuring tape
 Spirit level
 Utility knife (preferably sharp blade)
 Pencil
 Bucket (for paste mix)
 Wallpaper smoother / squeegee
 Roller and brush
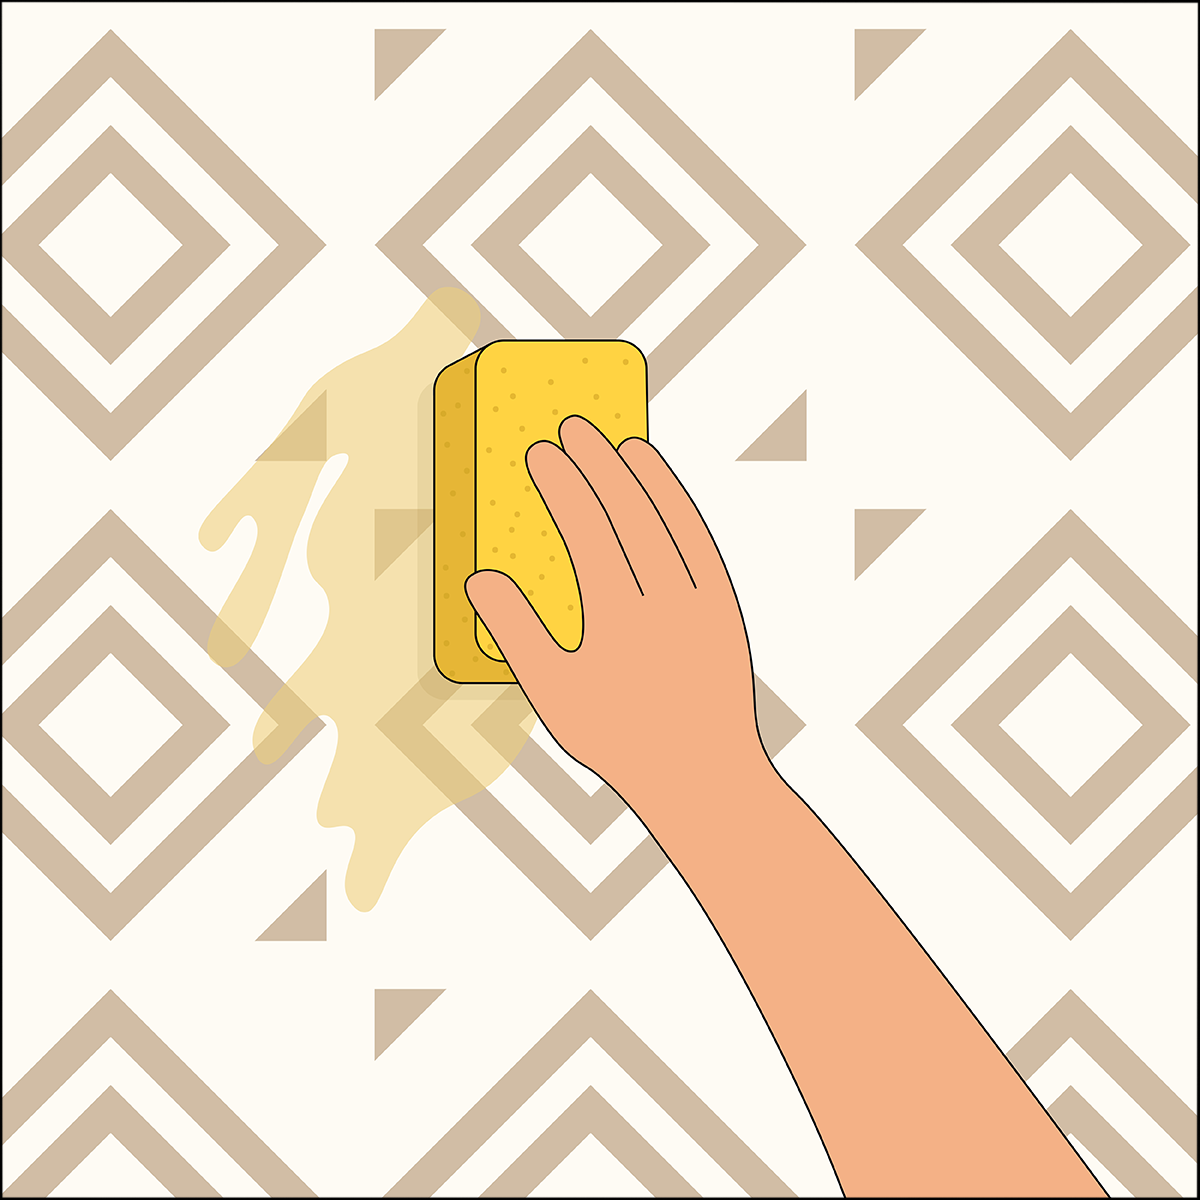
 Sponge or microfiber cloth
 Drop cloth or sheet
 Ladder
Before you start pasting wallpaper, it’s important to prep your walls for a smooth and long-lasting finish. Proper preparation ensures that the wallpaper adheres well and doesn’t peel, bubble, or show uneven patches over time.
For the next steps, installing wallpaper may seem intimidating, but it’s completely doable with the right tools and a little patience. Follow this easy step-by-step process to ensure neat alignment, clean edges, and a professional-looking result.
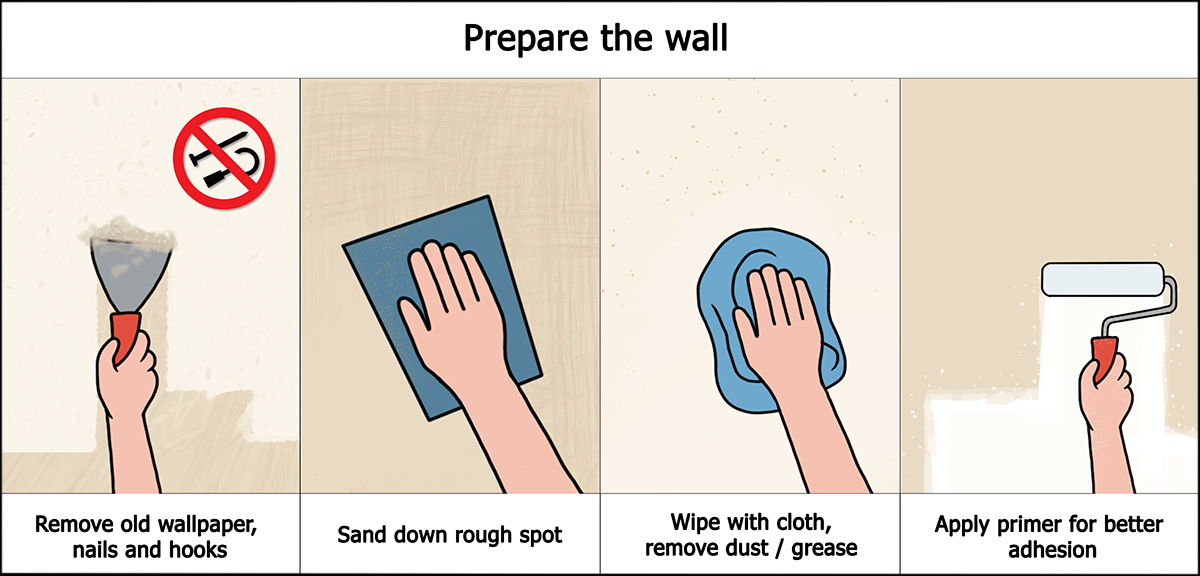
Wallpaper sticks best on a smooth, clean surface. Here’s what you should do:
This step might feel tedious, but it’s the foundation of a perfect finish.
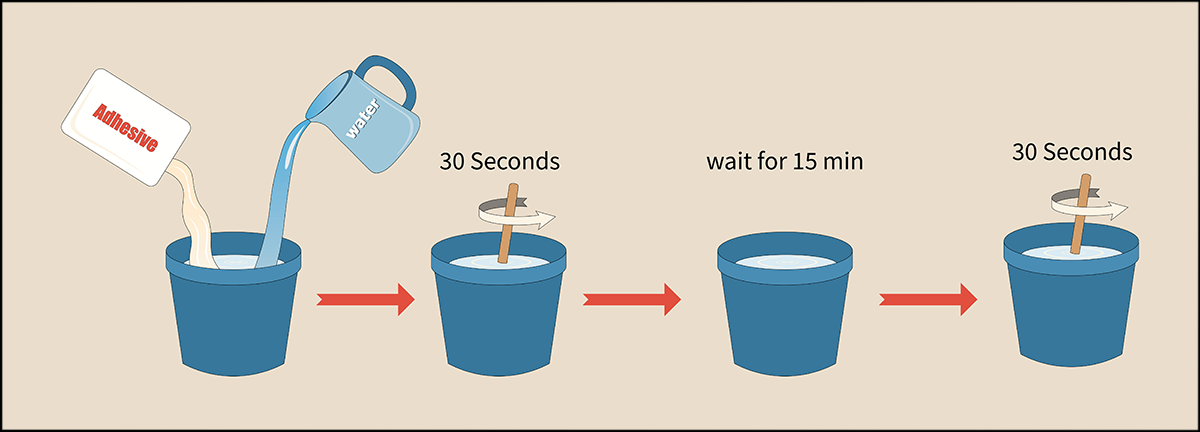
Magicdecor provides non-woven wallpaper paste that’s beginner-friendly. To prepare it:

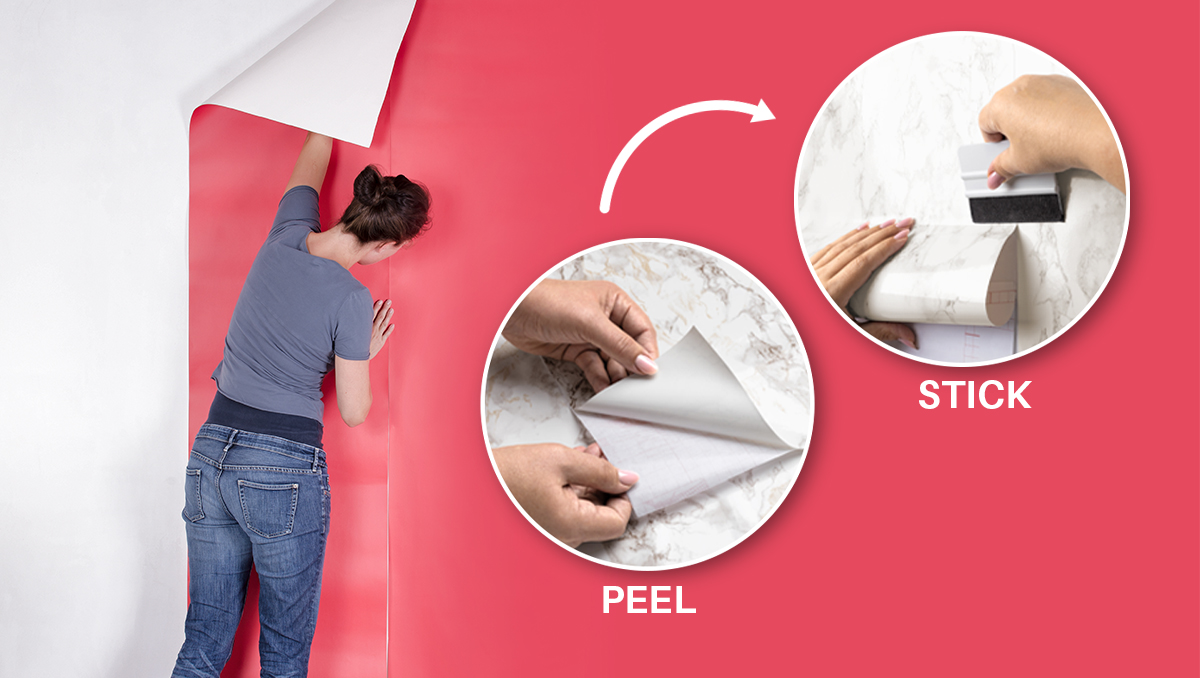
There are two approaches, depending on the wallpaper finish:
Tip: Paste only a section of the wall at a time—just wider than your first strip. This keeps the adhesive workable while you hang.
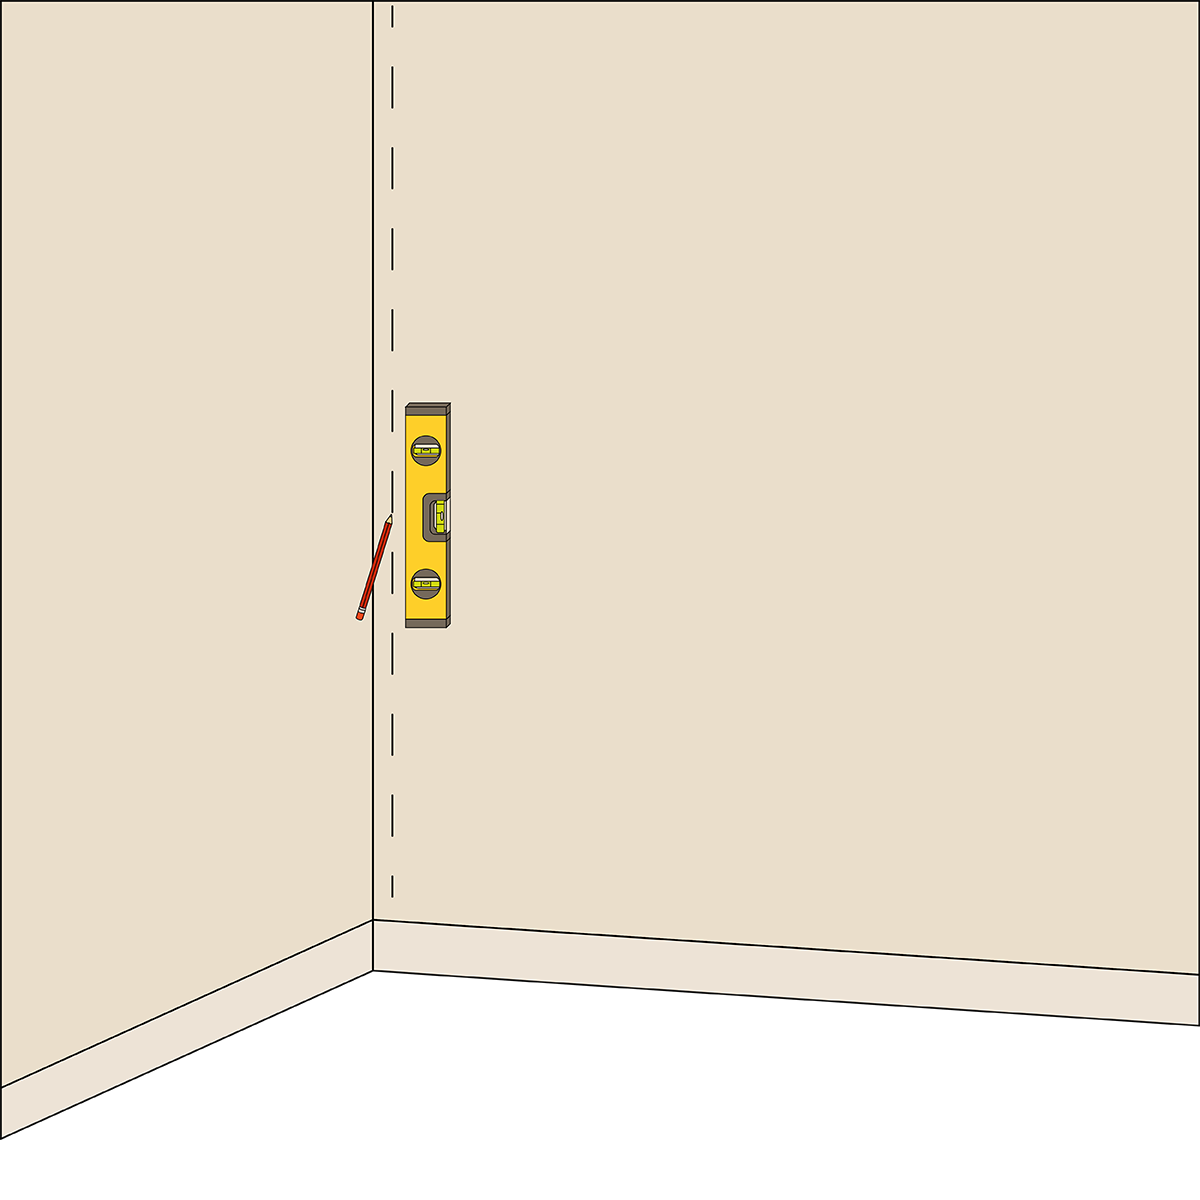
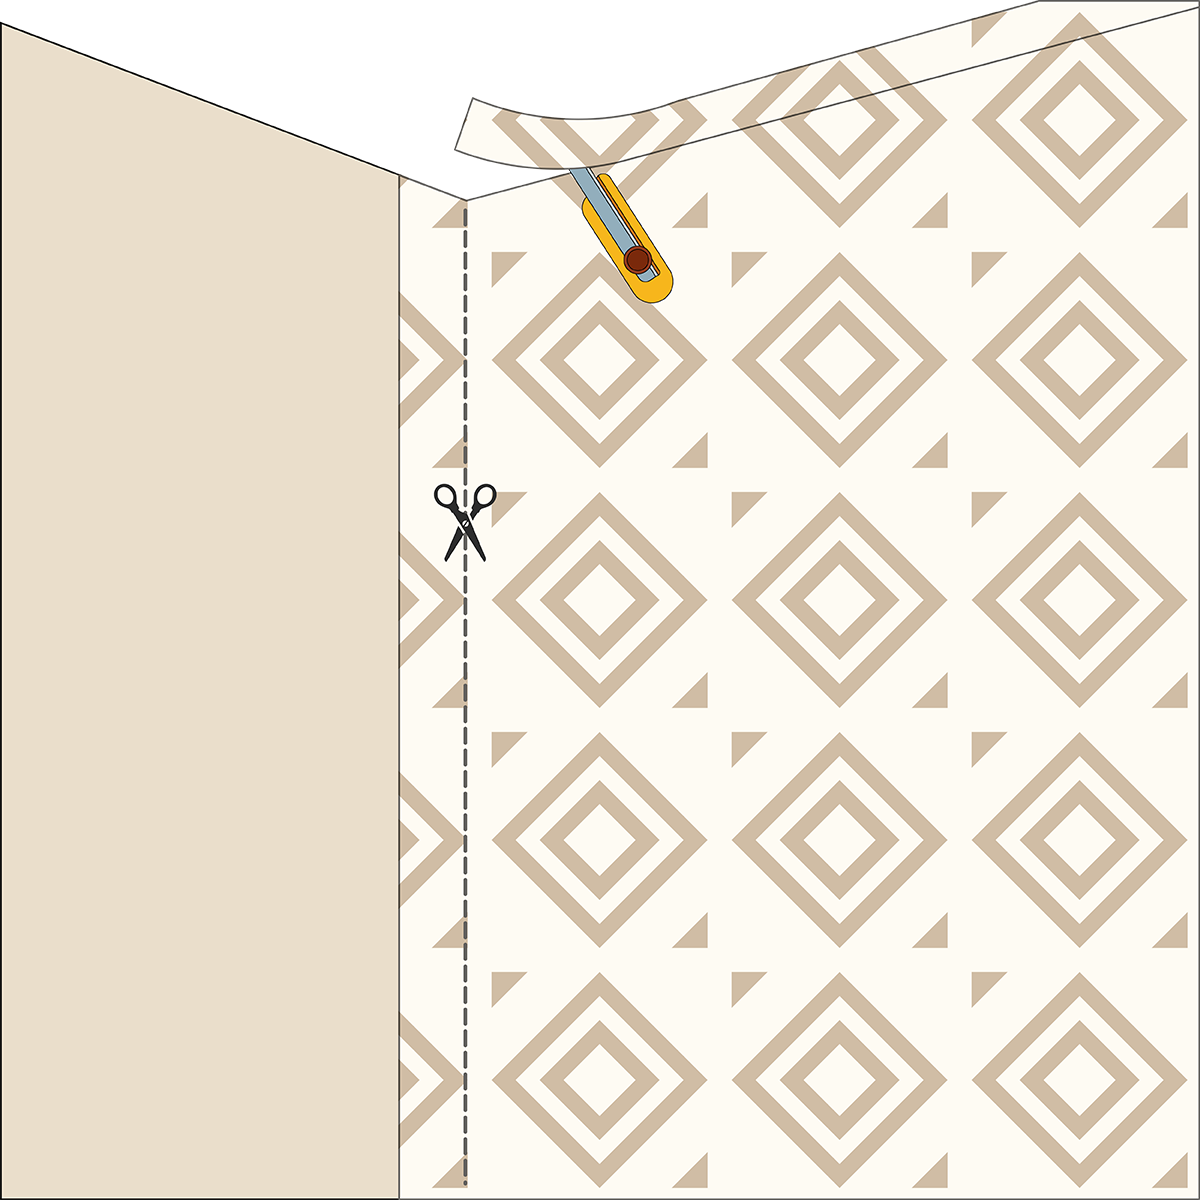
Crooked wallpaper is the ultimate rookie mistake. To avoid it, use a spirit level to draw a vertical line at your starting edge (usually the left-hand corner). This ensures your first strip hangs straight—every other strip will follow its lead.
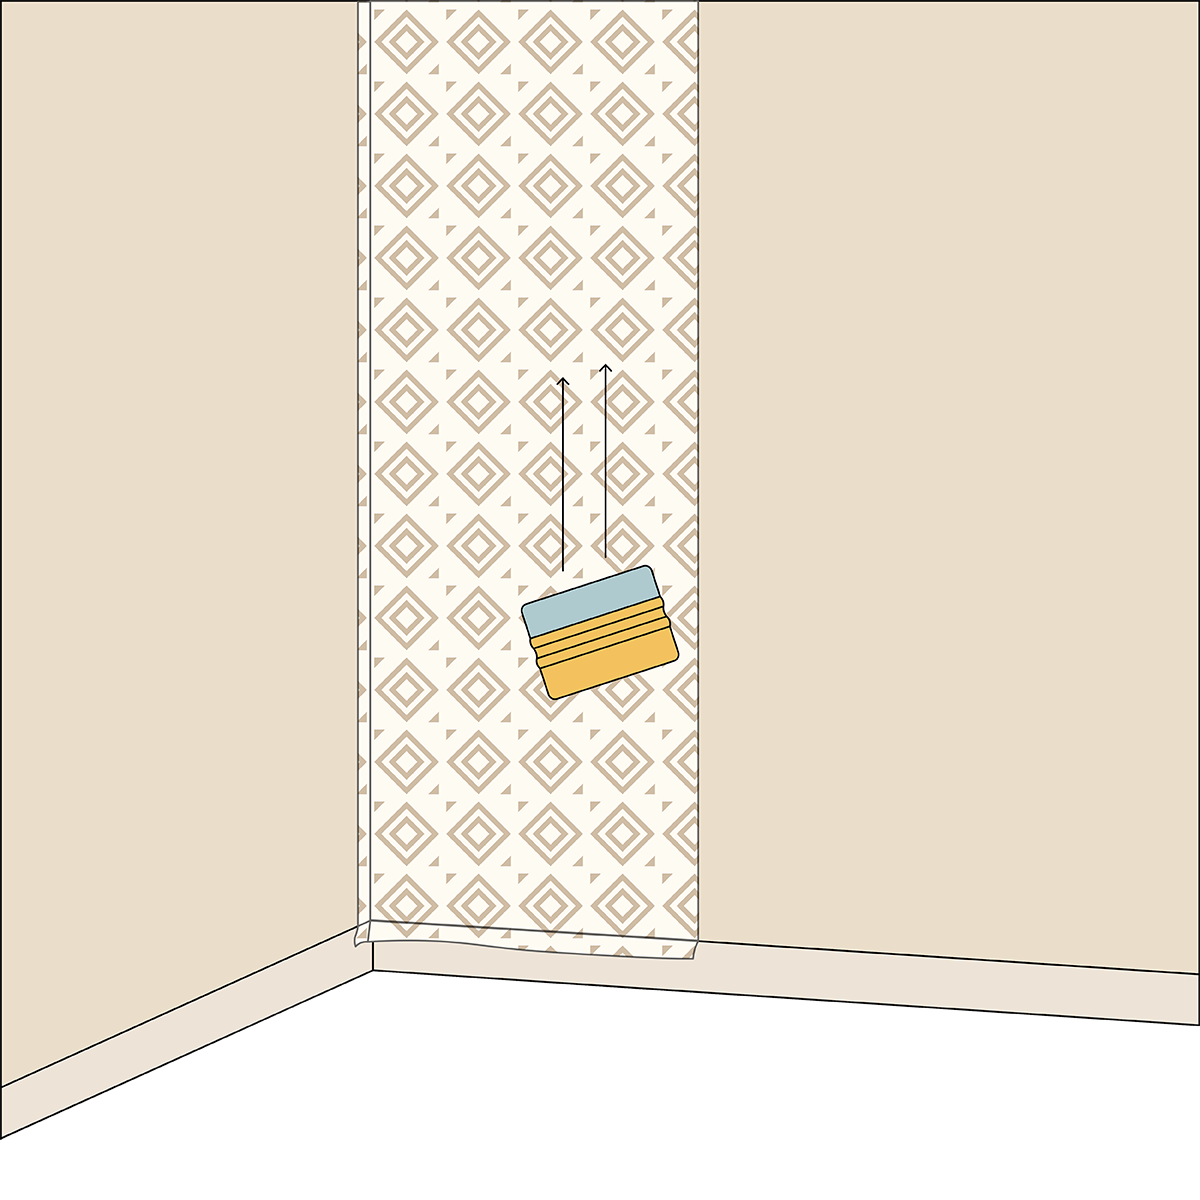
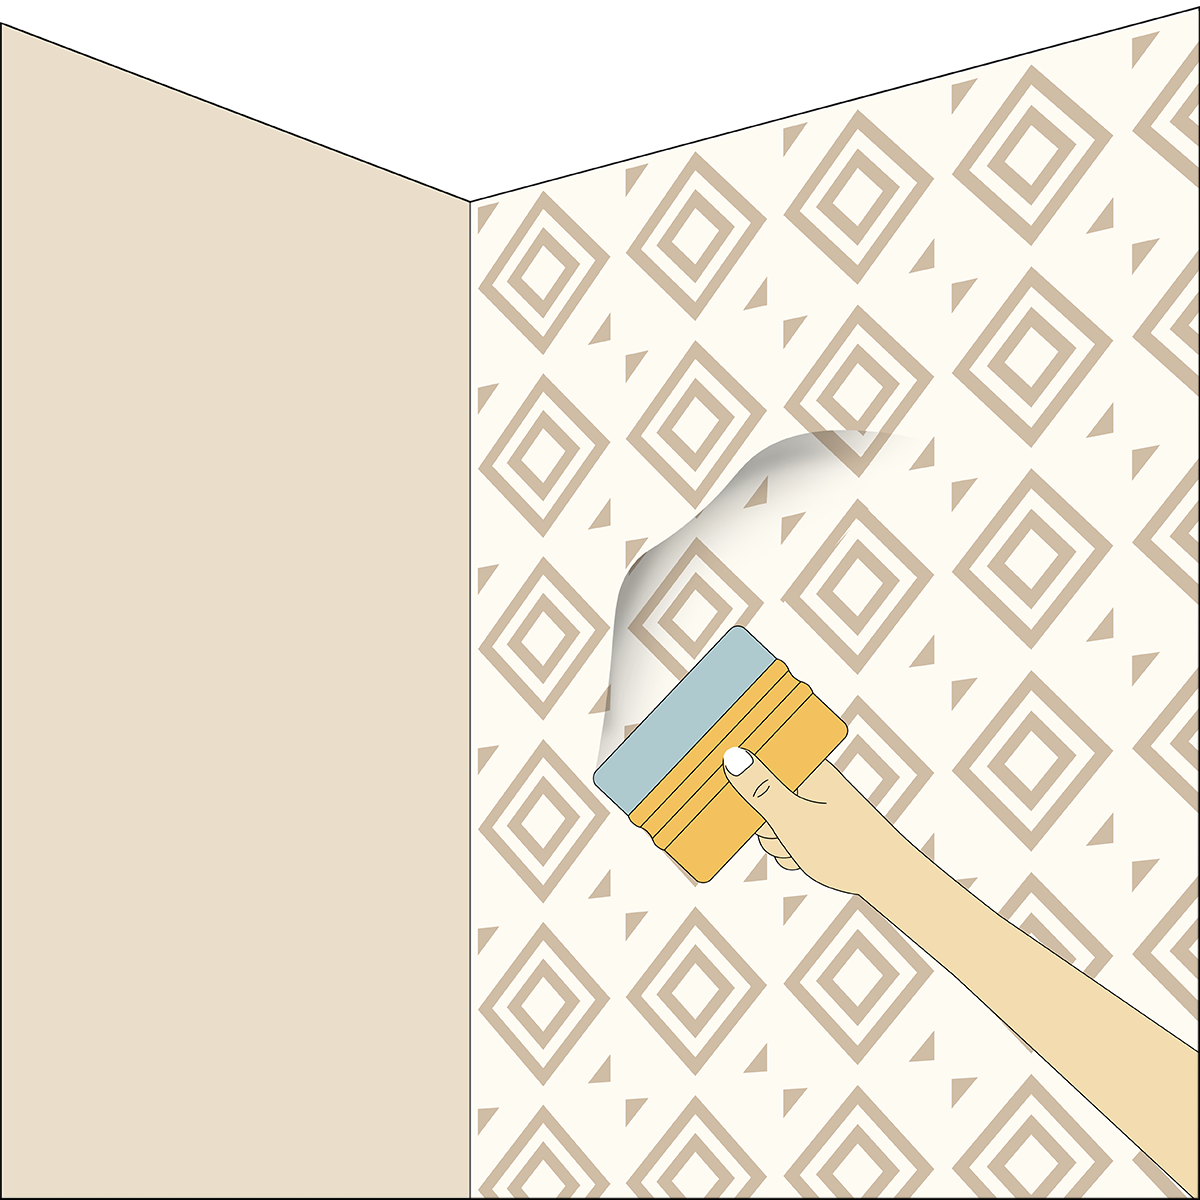
Trapped air is common but easy to fix. Run your smoother gently from the center outward to push bubbles to the edges. For stubborn ones, pierce them with a pin and smooth over lightly.
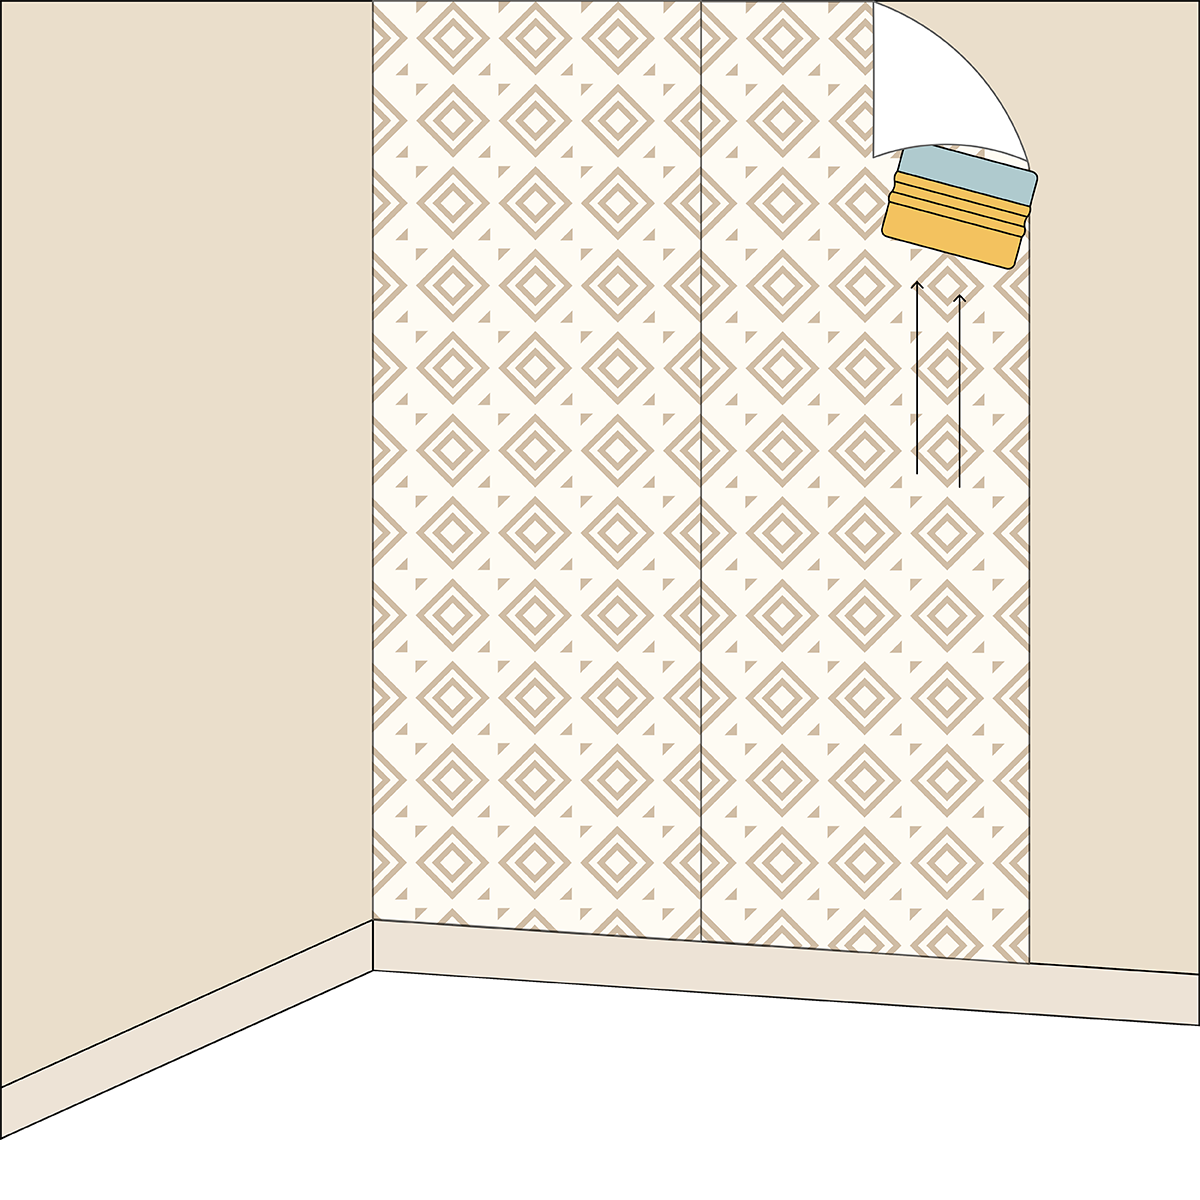
Continue hanging strips edge-to-edge. Pay extra attention to pattern alignment—lining designs at eye level helps make small mismatches less visible.
These smart tips from us can make your installation faster, cleaner, and more precise. From how to handle corners to matching patterns seamlessly, use these tricks to level up your DIY skills.
Don’t let avoidable errors ruin your hard work. Here are the most common mistakes first-timers make while installing wallpaper—and how to prevent them for a flawless finish.
Wallpaper installation might feel intimidating at first, but once you start, it’s a satisfying DIY project that instantly elevates your space. The key is prep, patience, and precision.
With Magicdecor’s eco-certified, paste-the-wall wallpapers, you’re working with beginner-friendly material designed for a smooth installation and long-lasting finish. Whether you’re going bold with patterns or subtle with textures, the process is straightforward—and the results are worth every effort.
So grab your tools, roll out the paste, and get ready to transform your walls into something truly special.
By clicking “Accept all cookies”, you agree Magicdecor can store cookies on your device and disclose information in accordance with our Cookie Policy.
Copyright © 2025 Magicdecor. All rights reserved.