
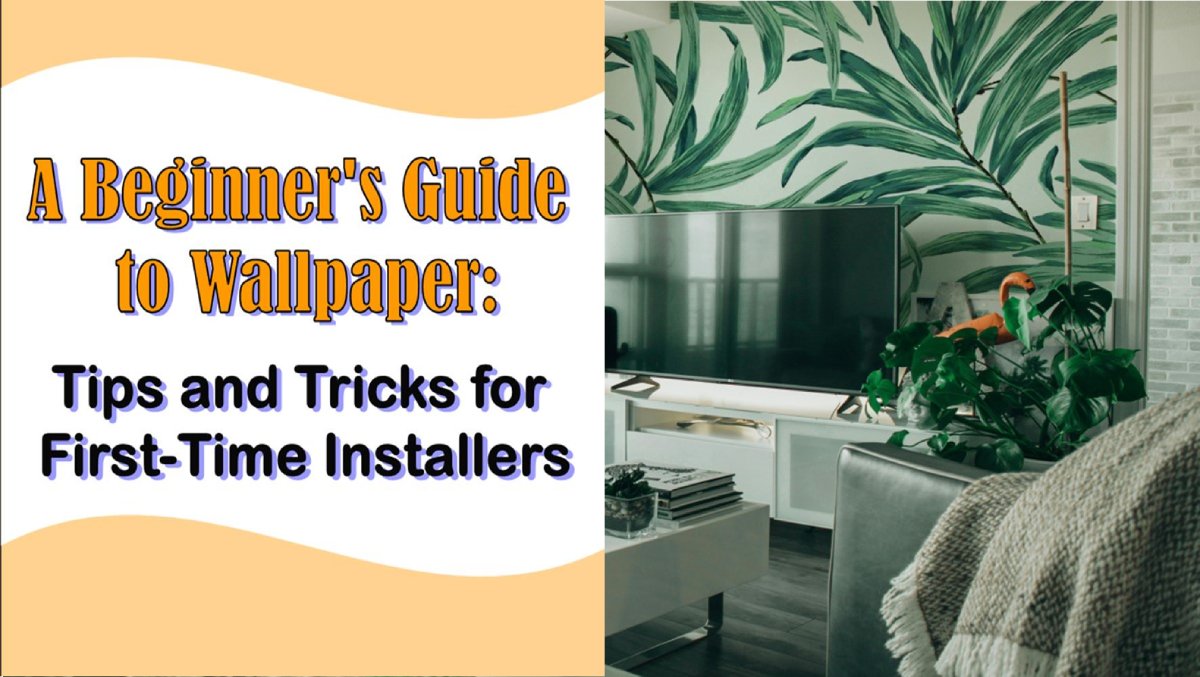
Don’t you just hate it when your walls are looking just…plain and dull?
That’s why you have finally decided that wallpaper installation will be the best makeover for your home. Well, congratulations! You are on your way to transforming your space within the shortest time possible and without digging deeper into your pockets. But you are facing one challenge, though. It’s your first time, and you have no clue how to go about it.
Here’s the most important part of the whole process. Be confident that everything will turn out all right. Have faith in yourself. And, we’ll hold your hand and walk with you step by step!
At this point, you’re just wondering and asking yourself, “Where do I start?”
The answer?
Gather the items you will need for this task and prep your wall.
So, let’s get to work.
Gather the Items You Will Need
- Wallpaper of your choice
- Tape measure
- Large ruler, preferably steel
- Scissors
- Utility knife and several blades
- Pencil
- Plumb line
- Spirit level
- Steady and strong ladder
- Soft cloth
- Spray bottle/brush
- Scraper
How to Prepare Your Walls for Wallpaper Installation
Now, this depends on the current finish on your walls. If you had previously installed a wallpaper, you might need to remove it. But in some instances, if it was installed correctly, you don’t have to uninstall it. Just ensure the surface is clean and dry.
If your walls are painted, ensure they are smooth and even by filling up ridges and sanding down bumps. Then remove all dust, cobwebs, grease and any debris. In short, ensure it is clean, dry, and smooth.
In case your wall is majorly uneven, don’t worry at all. Just install a lining paper to cover all the imperfections and smoothen out the surface. Then install your wallpaper as usual.
Finally, ensure that the paint used on your walls does not run over onto your ceiling. Why? Because it will pop out once you install your wallpaper. And you don’t want that untidy look. So paint over those spots before wallpaper installation.
Your designs on your walls
Upload any image to order wall mural prints online
How Much Wallpaper Do You Need?
To begin with, measure the width and height of the wall you desire to put in the wallpaper. First, determine the length of the wall you need to cover. Then measure the width of the same. To the figures you will get, add a mounting margin of 6-10cm to cover for wall imperfections and any mistakes during installation.
Multiply the length and width to get the total area to be covered. For instance, if your wall’s length is 8 feet, inclusive of the mounting margin, and the height is 7 feet, inclusive of the mounting margin, then the total area to be covered will be 8 feet multiplied by 7 feet, which gives 56 square feet.
Now repeat this calculation for each of your walls. Remember to include windows, doors, slanting walls, and staircases in your calculations. Wallpapers are printed in a rectangular shape, and you will have to cut them out.
Step-By-Step Wallpaper Installation for Beginners
It’s time to hang that gorgeous wallpaper on the wall. But before we go into that, check if your wallpaper rolls are all from the same batch. Different batches may have differing shades of color, even if they have the same pattern.
Remove All Obstacles Along the Wall
While wallpapering is challenging in itself, don’t let it be worse by having furniture and other items blocking your way. You can simply move all items to the middle of the room and have ample space for maneuvering.
Choose Where to Begin
Remember, where you begin your wallpaper installation will also be your endpoint. Choose a less visible point. Like above, a doorway because it’s a small area that you can manage with ease.
Measure Your Wall
Using your tape measure, measure out the section of the wall that you will begin with. Mark the points. Also, use your spirit level, ruler, and plumb line to draw perfectly straight horizontal and vertical lines.
Cut Several Strips of Your Wallpaper
Now, roll out your wallpaper on a clean surface and cut a few strips. This will allow the strips to straighten or flatten before installation.
Apply Adhesive as Instructed
Gently apply the adhesive as per the instructions using your paint roller, or spray with water to activate the adhesive. It all depends on the type of wallpaper you are installing. Make sure you cover your roller and adhesive as you progress to prevent it from drying out.
Start Hanging the Wallpaper Strips
Take your first strip and carefully hang it on the wall. Ensure that it aligns perfectly with the already drawn lines on the wall. Press the strip with your hands from the center out to drive trapped air bubbles underneath. Finally, use a scraper to completely drive out any air and excess adhesive.
Subscribe to Save 5%
All subscribers get an additional 5% OFF on their first order

Cut the Excess Wallpaper
Using your utility knife, cut out the excess wallpaper at the top. Ensure you neatly push the paper into the crease between the ceiling and the wall to give a neat, finished look. Also, do the same at the bottom. You will need to change your blade after a few cuts to maintain clean and smooth edges. Dull blades give undesirable jagged edges, and you don’t want that.
Wipe Out the Excess Adhesive
Using a damp, clean, soft cloth, wipe out the excess adhesive and wipe the entire strip clean. Make sure you have a bucket of clean water to rinse out the cloth after every use. Change the water as needed.
Repeat the Process
Keep installing and cutting out the wallpaper strips as you go until you are done. Once you are done installing your wallpaper, you can give it a nice final wipe to have a clean, smooth, and shiny finish.
What Are Some of the Common Mistakes Made by First-Time Wallpaper Installers?
While DIY wallpaper installation is practically possible, there are a few common mistakes that tend to happen. Let’s look at two of them.
Forgetting to Include the Mounting Margin
In most cases, walls are not perfectly straight. These irregularities can disrupt your wallpaper installation negatively. Imagine having your hard work ruined by misaligned patterns, mistakes, or a shortage of material. To cater for these mishaps, always have some more wallpaper than you require.
Too Much or Too Little Adhesive Application
Another mistake happens when too much adhesive is applied, making your work untidy due to too much glue oozing behind your wallpaper. Or when too little adhesive is used, making it hard for the wallpaper strips to hang firmly on the wall. Later on, they may peel off or loosen at the seam lines.
All in all, you will draw a greater sense of accomplishment from DIYing your wallpaper home decoration than you ever have before. So don’t get discouraged by the challenges; instead, prepare thoroughly to overcome them.


Top Trending Blogs
Stay up to date with the latest trends