
Some of the most common mural installation mistakes are:
- Not preparing the wall properly
- Wrong measurements
- Choosing the wrong wall
- Installing on damp or textured surfaces
- Incorrect alignment/panel joining
- Poor adhesive use
- Not considering lighting
- Rushing the installation
- Skipping post-installation care
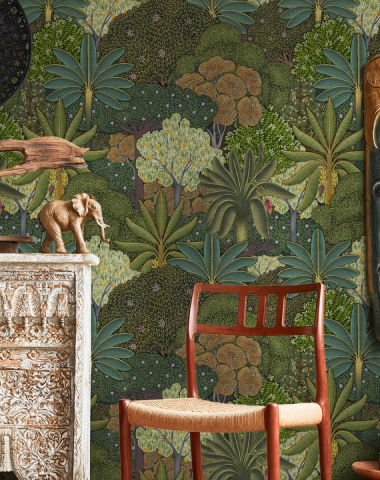
Wall murals can instantly transform a room. Whether it’s a calming landscape, an abstract art piece, or a bold geometric pattern. But unlike regular wallpapers, murals are large, continuous artworks. That means even a tiny installation mistake can distort the entire visual, break the flow of the design, or leave visible flaws.
Because murals demand precision, surface preparation and careful planning matter even more than they do for traditional wallpaper. Whether you’re installing a peel-and-stick mural or a glue-based one, avoiding common mistakes ensures your final result looks premium, seamless, and long-lasting.
Common Wall Mural Installation Mistakes
Let us dive deep into the most common wallpaper installation mistakes and how they can ruin the look of your interiors:
1. Not Preparing the Wall Properly
Improper wall prep is the number one reason murals fail.
Common errors include:
- Not sanding or levelling the wall which causes uneven textures to show through.
- Leaving dust, grease, old wallpaper residue. This reduces adhesion significantly.
- Skipping primer leads to bubbles, peeling, and poor grip.
A mural sticks best to a clean, smooth, dry, primed surface.
2. Wrong Measurements & Miscalculations
Murals are printed to fit your wall. One measuring error and the artwork will not align correctly.
Common mistakes:
- Ordering the wrong size mural
- Ignoring obstacles like windows, beams, or switchboards
- Not adding extra margin for trimming (2–3 inches is ideal)
3. Installing on a Bad Wall Surface
A mural cannot hide wall defects.
Avoid installing on:
- Damp walls as it will cause peeling
- Cracked or flaking paint
- Highly textured walls
- Freshly painted walls that haven’t cured
If the surface is not stable, the mural won’t be either.
4. Choosing the Wrong Wall for a Mural
Even the most beautiful mural looks cluttered if placed poorly.
Mistakes include:
- Installing on busy walls with shelves, wardrobes, or décor
- Using walls where sunlight causes harsh glare
- Choosing narrow walls that don’t give the art breathing space
Murals need clean, uninterrupted surfaces to shine so avoid making this mural installation mistake.
5. Incorrect Panel Alignment
Murals come in multiple panels and one misalignment can ruin the entire artwork.
Common issues:
- Visible gaps between panels
- Incorrect overlapping
- Patterns not matching, breaking the visual flow
Always dry-fit panels before final application.
6. DIY Installation Without the Right Tools
To avoid common wallpaper mistakes, make sure to get expert help. If you want to DIY, you must have all the right tools for a seamless installation.
Common missing tools:
- Smoother/squeegee
- Level scale or laser level
- Sharp cutting blade
- Adhesive brush
- Sponge/cloth
- Heat gun (for edge fixing if needed)
Without proper tools, bubbles and crooked alignment are almost guaranteed.
7. Using Excessive or Insufficient Adhesive (For Non–Peel & Stick Murals)
Glue mistakes ruin murals more often than people realise.
Common errors:
- Too much glue causes bubbles
- Too little glue leads to edges lifting
- Not waiting for glue to activate
Follow the adhesive mixing instructions exactly for the perfect wallpaper installation.
8. Rushing Through the Installation
A mural requires patience. Rushing leads to:
- Skipping instructions
- Not letting adhesive rest
- Ignoring humidity/temperature guidelines
Go slow for a smooth, wrinkle-free finish.
Your designs on your walls
Upload any image to order wall mural prints online
9. Not Checking Lighting Before Installation
Lighting can enhance or destroy the mural’s aesthetic.
Mistakes include:
- Harsh light that highlights seams
- Shadows that distort the design
- Certain colors looking off under cool white lights
Good lighting makes the artwork pop.
10. Skipping Post-Installation Care
Once the wall mural installation is complete, giving it time to set is crucial.
Mistakes include:
- Touching or cleaning too soon
- Not checking for lifting edges after 24 hours
- No ventilation, causing slow drying and peeling
Proper post-installation care ensures longevity.
Wall Preparation Checklist
Before installation, ask yourself:
- Is the wall smooth?
- Has it been thoroughly cleaned?
- Is the wall completely dry?
- Has primer been applied?
- Are there any cracks, seepage, or peeling paint?
- Has fresh paint been cured for 14 days?
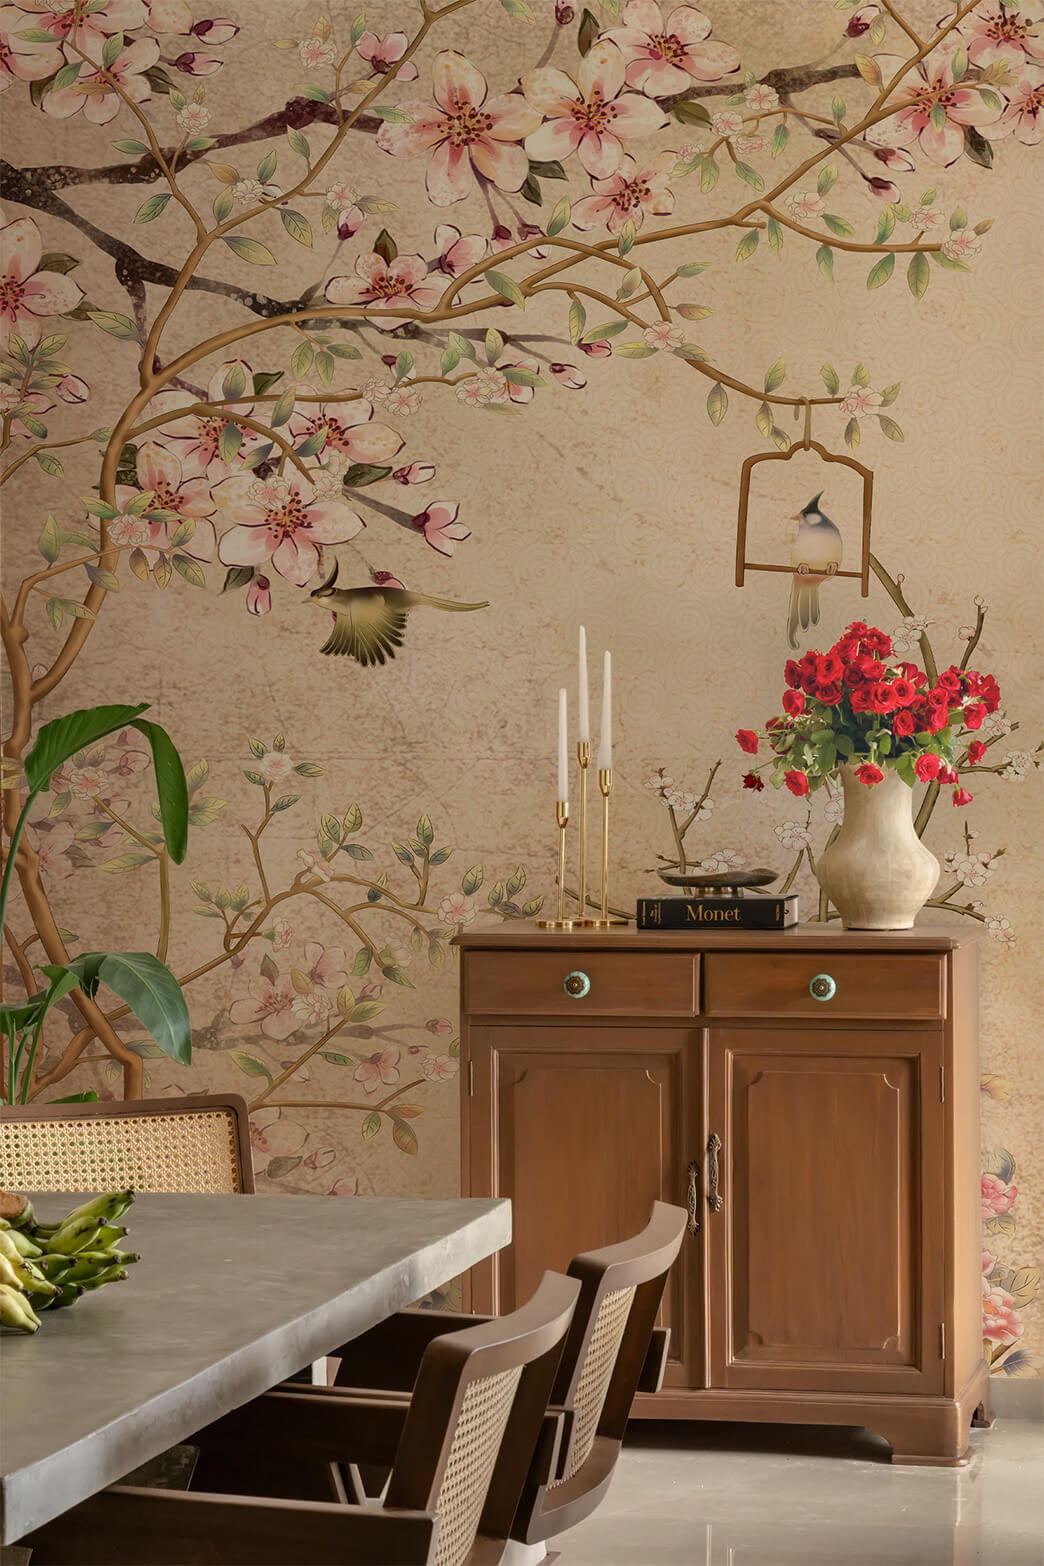
Choosing the Right Wall for a Mural
Just like correct wallpaper mural installation is important, so is choosing the right wall for your mural as it can make or break the look and feel of your room.
Best Walls for Murals Include:
- Sofa backdrop
- Bedroom headboard wall
- Dining area wall
- Long, plain corridor walls
Basically, walls that are big and will easily draw attention to the mural without any distractions.
Walls to Avoid
- Behind open shelving
- Uneven or damp walls
- High-impact children’s play areas
- Small, fragmented walls that break the design
Common Measurement Mistakes (and How to Avoid Them)
Accurate measurements = a seamless look. Avoid these frequent errors as you measure your walls for a mural:
- Measuring only the center instead of all edges
- Ignoring ceiling slope
- Forgetting skirting height
- Not adding trimming margin
- Using faulty or inaccurate tapes
Understanding Mural Material Types (and Related Mistakes)
1. Peel & Stick Murals — Common Mistakes
Demand for peel and stick murals is always high because of the ease of installation and the fact that their removal leaves walls undamaged. However, here are some common mistakes that must be avoided while installing a peel and stick mural:
- Applying on dusty or textured walls – the mural will not stick properly
- Stretching the material – can damage the design
- Removing the entire backing at once instead of slowly peeling – will make the installation flimsy and difficult
2. Traditional PVC / Non-Woven Murals — Common Mistakes
If you are DIYing a traditional wall mural, you must be aware of these common mistakes that can lead to a messy installation.
- Wrong glue mixing ratio
- Not “booking” or allowing glue activation time
- Poor seam management
It is advised to use the wallpaper installation services offered by brands like Magicdecor to ensure a seamless finish.
3. Fabric Murals — Common Mistakes
Here are the most repeated mistakes while installing a fabric mural:
- Improper alignment due to flexibility
- Not smoothing from center outward, causing wrinkles
Lighting Mistakes to Avoid During Wall Mural Installation
Many people don’t realise this but lighting has a huge impact on how a wall mural ends up looking. Here are some lighting mistakes that you must not overlook:
- Strong sunlight – this can cause fading of the design
- Too many cool white lights – these lights are harsh and distort colour perception
- Weak ceiling lights – these make the mural designs look flat
Best Lighting for Murals
- Warm LEDs
- Concealed strip lights
- Soft focus spotlights
Tech & Printing Mistakes While Installing a Mural
Let us now get a little technical and look at some printing and tech-related mistakes that must be avoided:
1. Ignoring DPI & Image Quality
Low-resolution images means blurred prints that look cheap. Ensure that you go for a high-resolution print and premium quality wallpaper for the best results.
2. Not Checking Colour Proof
Actual printed colors may differ from screen previews. When buying online, go through the website descriptions carefully before finalizing a design.
3. Not Confirming Panel Order
Incorrectly ordered panels cause misalignment during installation. Place your order mindfully to avoid such mishaps.
Professional vs DIY Installation
As we have said before, professional installation is highly recommended when it comes to traditional (non- peel and stick) wall murals. It ensures the most seamless finish. However, here is a comparison between expert installation and DIY in case you are curious if you should handle the process yourself:
| Feature | DIY Installation | Professional Installation |
| Skills Needed | Medium – High | Expert |
| Tools required | Must be purchased | Provided |
| Time Required | Slow | Fast |
| Finish Quality | May show seams/bubbles | Smooth and seamless |
| Cost | Low | Higher |
| Best For | Peel-and-stick murals | Large or multi-panel murals |
Quick Mural Installation Tips
If you decide to install a wall mural yourself, keep this tips in mind to ensure the best installation:
Subscribe to Save 5%
All subscribers get an additional 5% OFF on their first order

- Always dry-fit before installing
- Start from the most visible wall
- Maintain stable room temperature
- Smooth from center outward
- Trim slowly with a sharp blade
- Keep a damp cloth for glue spills
Why Wall Murals Are Making a Comeback in 2026
There is a noticeable rise in the demand for wall murals and it is safe to predict that they will stay in trend for 2026 because of the following reasons:
- Increasing demand for statement walls
- Botanical, nature, and landscape murals trending
- Matte finishes dominating modern homes
- Possibility of making custom murals (Magicdecor allows customers to upload their own photos and designs to create murals that are unique and one of a kind)
- Minimalist homes using murals as the main focal point
Wall Mural Installation Checklist
- Is the wall fully prepped and primed?
- Have I measured it with trimming margins?
- Is the mural size accurate for the wall?
- Is the lighting right for the mural?
- Do I need a professional installer?
- Do I have the right tools?
Quick Diagnosis: What Went Wrong?
Refer to the following table if you are done with your wallpaper mural installation and notice problems like bubbles, lifted edges, etc.
| Problem | Likely Cause | Quick Fix |
| Bubbles appearing | Too much glue/trapped air | Use smoother and pin-prick method |
| Edges lifting | Not enough adhesive | Apply edge glue + heat gun |
| Pattern mismatch | Wrong panel order | Reinstall panel after loosening with steam |
| Mural looks dull | Poor lighting | Switch to warm LEDs |
Surface Suitability Test: 60-Second DIY Checks
1. Tape Test
Stick masking tape.
If paint peels → wall needs priming.
2. Water Drop Test
Drop water on the wall.
If absorbed fast → wall is porous, and must be sealed.
3. Touch Test
Rub your hand.
If chalky dust transfers → not ready for installation.
Timeline Guide: When to Install a Mural
- Newly plastered wall: wait 30–45 days
- Fresh paint: wait 14 days
- Monsoon season: avoid humid days
- After seepage: wait until moisture returns to normal
Safety Guidelines
- Ensure good ventilation
- Use VOC-free adhesives
- Wear protective gloves when trimming
- Ensure ladder stability at all times
Top Tools for Beginners vs Professionals
Beginners
- Plastic smoother
- Snap-off cutter
- Microfiber cloth
- Peel-and-stick squeegee
Professionals
- Seam roller
- Laser level
- Heat gun
- Pro-grade adhesive brush
Cost Mistakes People Make
While it is good to compare prices and find the most cost-effective wall murals to save some money, make sure to avoid the following budgeting mistakes:
- Not budgeting for adhesive
- Forgetting installation charges
- Not ordering 5–10% extra for safety
- Buying low-quality murals that peel within months
Mural Longevity Mistakes After Installation
Once you are done with the installation process and your mural is all ready to shine, ensure that you take care of it to keep it clean and long-lasting.
Avoid:
- Placing heaters too close
- Using harsh chemical cleaners
- Scrubbing aggressively
- Direct, harsh sunlight on printed murals
- High-moisture areas without vinyl protection
FAQs
1. Can murals be installed on textured walls?
Only if the texture is minimal. Ideally, walls should be smooth.
2. How long should I wait after painting to install a mural?
You must wait for at least 14 days for the paint to fully cure.
3. Are murals removable?
Peel-and-stick murals are removable. Glue-based murals are semi-permanent.
4. Which type of mural is best for beginners?
Peel-and-stick murals are best for beginners because they’re easier to install.
5. Do murals fade over time?
Direct sunlight can speed up fading. Indoor LED lighting is safe.