
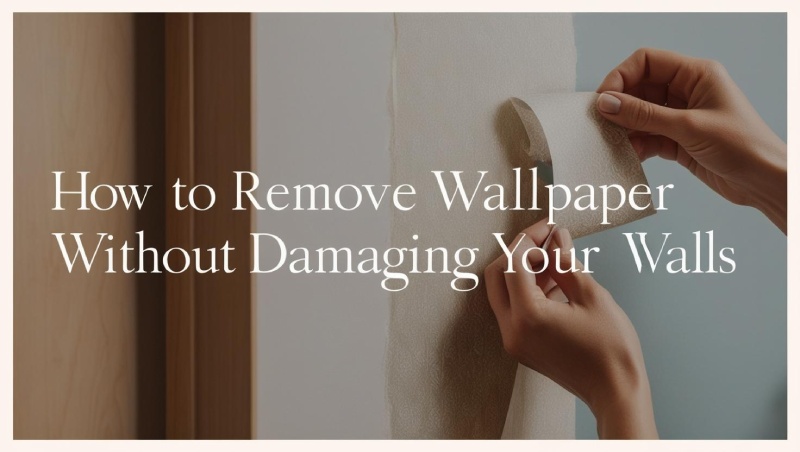
The Wallpaper Dilemma We’ve All Faced
We’ve heard the stories. You fell in love with a design, installed it with enthusiasm, and then a few years later—whether due to a change in style or home renovation plans—you needed to take it down.
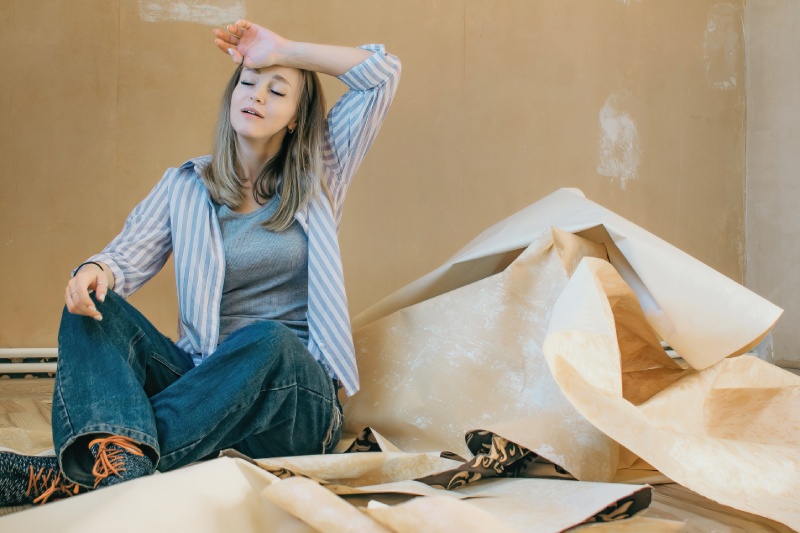
But here’s where things get tricky. Peeling wallpaper off the wall can sometimes feel like a battle—one that, if not done carefully, can lead to damaged drywall, stubborn adhesive residue, or even worse, an uneven surface that makes repainting or re-wallpapering a nightmare.
At Magicdecor, we’ve seen it all—bold patterns, dreamy florals, and timeless textures. But if there’s one thing we know, it’s that wallpaper removal can be a daunting task.
So, if you’re staring at your walls, unsure of how to remove wallpaper from wall without causing destruction, you’re in the right place. Let’s break down the best methods to safely strip away old wallpaper while keeping your walls smooth and damage-free.
Step 1: Preparation – Setting the Stage for a Smooth Removal
Before you even begin peeling, a little preparation can save you hours of frustration later.
What You’ll Need:
- Plastic drop cloths or old newspapers to protect floors
- Painter’s tape to cover outlets and switches
- A putty knife or wallpaper scraper
- A scoring tool
- A spray bottle, sponge, or wallpaper steamer
- Warm water mixed with mild dish soap (or a commercial wallpaper remover)
- A bucket for easy access to your removal solution
Protect Your Space
Lay down plastic sheets or drop cloths to catch debris, and use painter’s tape to protect electrical outlets and trim. Trust us, you don’t want sticky glue or soggy wallpaper bits everywhere.
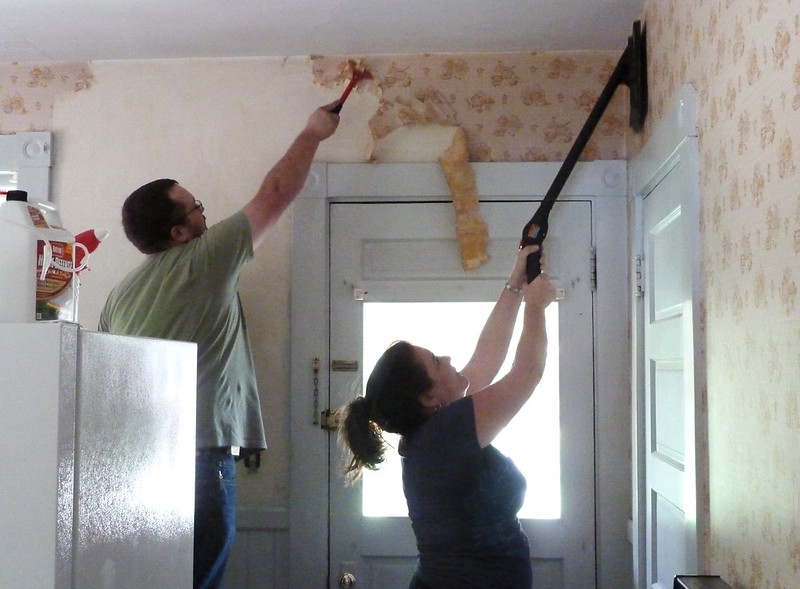
Step 2: Test Before You Strip
Before diving in and using the wallpaper stripping tool, check what kind of wallpaper you have. Some modern wallpapers are peel-and-stick and can be removed effortlessly. But traditional ones? They’ll need a bit more coaxing.
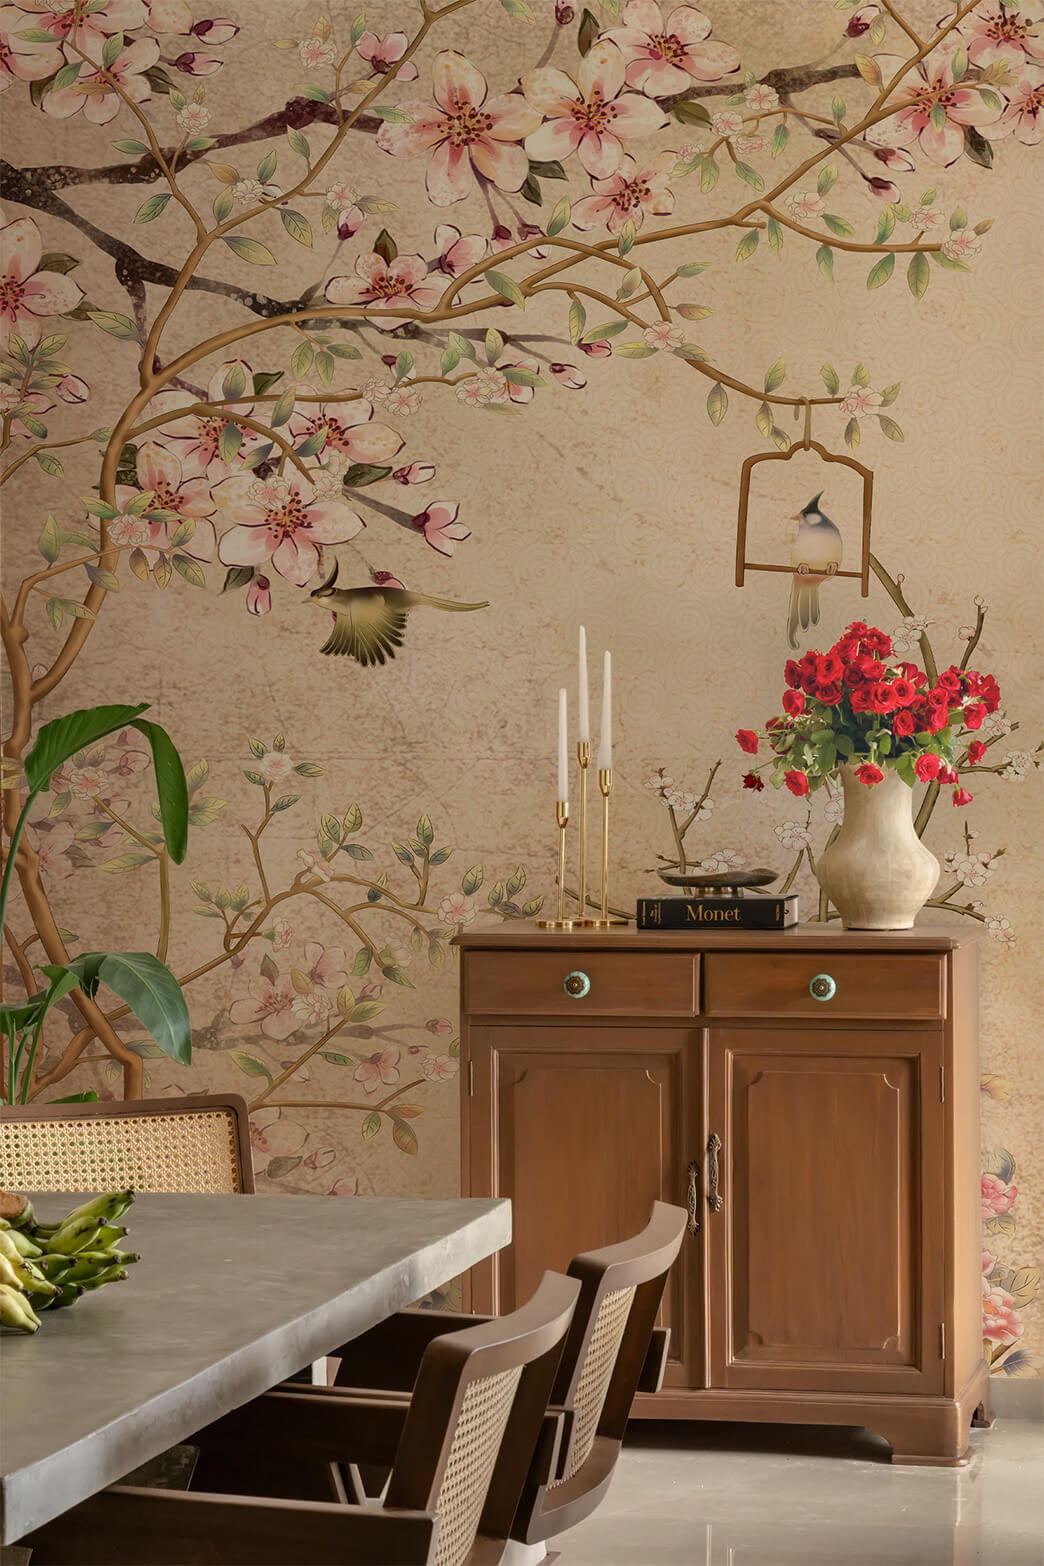
Your designs on your walls
Upload any image to order wall mural prints online
How to Test:
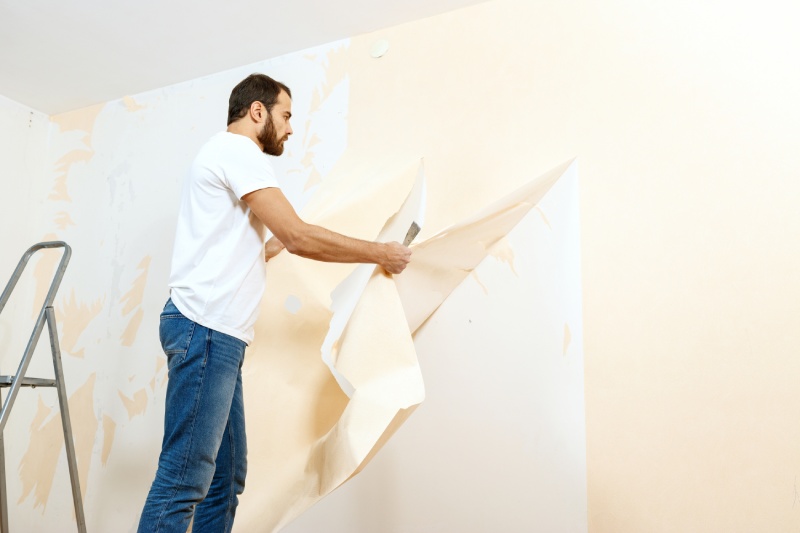
- Find a loose edge—often near a seam or corner.
- Try peeling it gently. If it comes off in a full sheet, congratulations! You have a removable wallpaper.
- If only the top layer peels off, leaving the backing behind, you’ll need a more hands-on removal method.

Step 3: Choose the Right Removal Method
There’s no one-size-fits-all approach to wallpaper removal. The method you choose depends on the type of wallpaper, how long it’s been up, and how it was applied.
Method 1: The Warm Water and Dish Soap Approach (Best for most wallpapers)
This is the simplest, most budget-friendly option. Warm water helps soften the adhesive, making the wallpaper easier to remove.
How to do it:
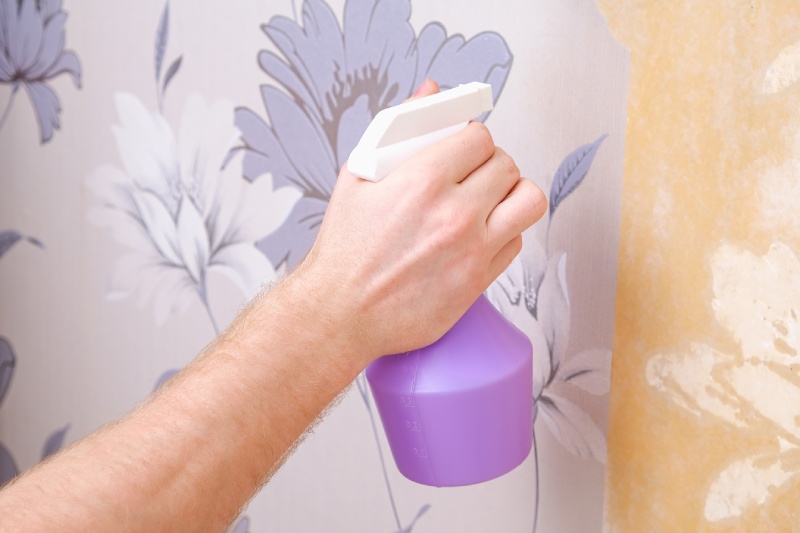
- Mix warm water with a few drops of dish soap in a spray bottle.
- Spray the wallpaper generously, focusing on seams and corners.
- Let it sit for 10–15 minutes so the adhesive softens.
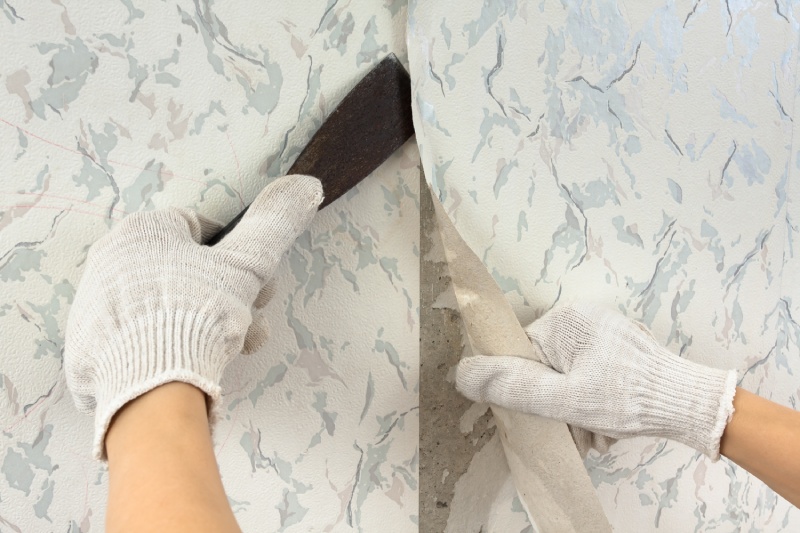
- Use a putty knife or scraper to gently lift the wallpaper, working from bottom to top.
Pro Tip: Avoid scraping too aggressively—this can damage the drywall underneath.
Method 2: Steam It Off (Best for stubborn or layered wallpaper)
A wallpaper steamer is a game-changer if you’re dealing with multiple wallpaper layers or strong adhesives.
How to do it:
- Fill the steamer with water and let it heat up.
- Hold the steam plate against the wallpaper for 15-20 seconds to loosen the glue.
- Immediately start peeling the paper with a putty knife.
- Work in sections to prevent the wallpaper from drying before you remove it.
Important: Never over-steam one area—it can weaken drywall or plaster!
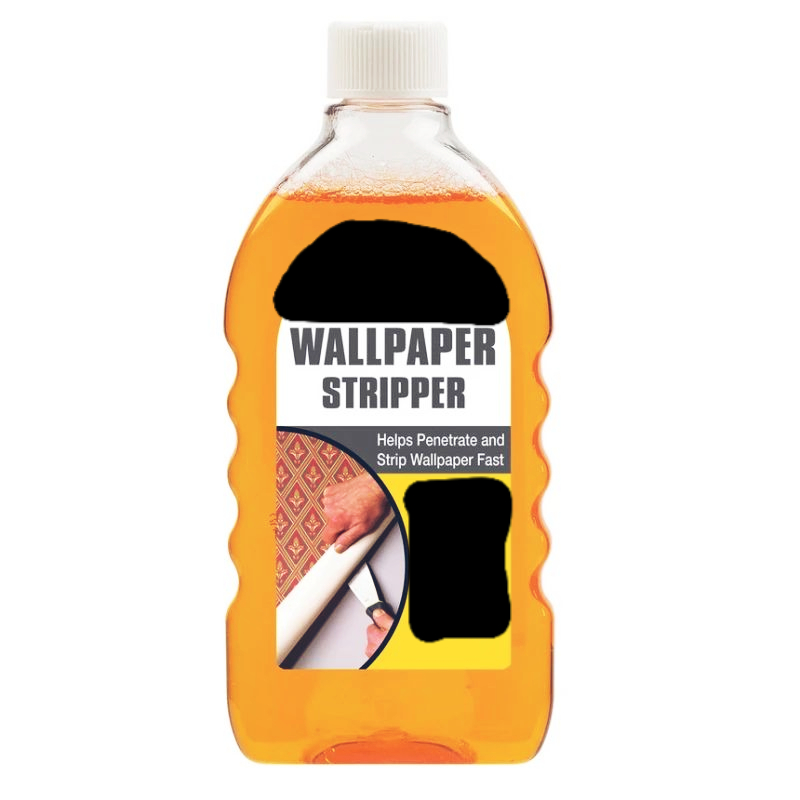
Method 3: Using a Wallpaper Stripper Solution (Best for heavily glued wallpapers)
Commercial wallpaper removers break down adhesive quickly, making it easier to peel off the paper.
How to do it:
- Use a scoring tool to create small holes in the wallpaper.
- Apply the wallpaper stripper with a sponge or spray bottle.
- Let it sit for 5-10 minutes to loosen the glue.
- Scrape the wallpaper carefully, working from the seams.
Pro Tip: If you’re concerned about chemicals, a vinegar and warm water solution works just as well!
Subscribe to Save 5%
All subscribers get an additional 5% OFF on their first order

Step 4: Dealing with Stubborn Residue
Once the wallpaper is gone, you may still have adhesive left behind. Leaving glue on the walls can affect new paint or wallpaper application.
How to Remove Wallpaper Paste:
- Mix warm water with mild dish soap and wipe down the walls with a sponge.
- If glue persists, add a bit of vinegar to the mix.
- Use a scraper or sponge to gently remove any remaining residue.
- Let the walls dry completely before repainting or re-wallpapering.
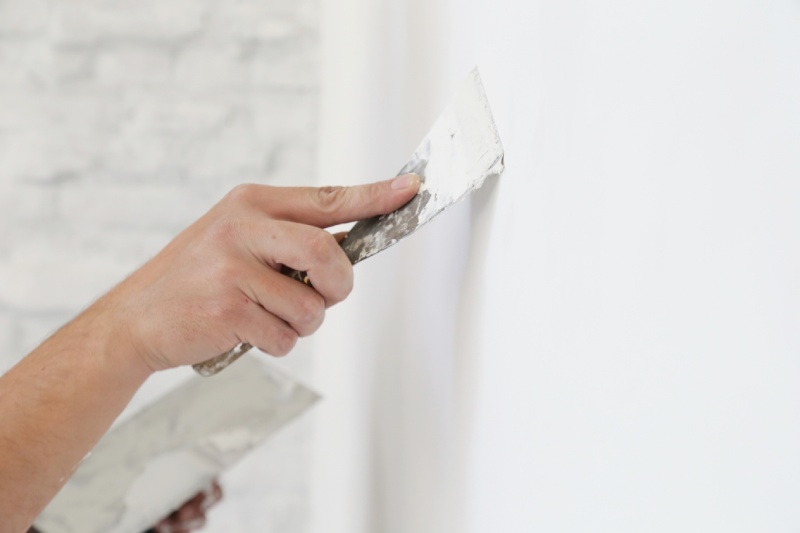
Step 5: Inspect and Repair Your Walls
After removing the wallpaper, inspect your walls for small dents, scratches, or imperfections.
How to Fix Minor Damage:
- Use spackles to fill small holes or rough patches.
- Lightly sand any uneven areas for a smooth finish.
- Wipe the walls with a dry cloth before applying a primer or new wallpaper.
Pro Tip: Always use a high-quality primer before painting or installing new wallpaper to ensure better adhesion and long-lasting results.
A Fresh Start for Your Walls? Take a New Step With Us
Removing wallpaper doesn’t have to be a frustrating or damaging process. With the right tools, patience, and techniques, you can strip away the old while keeping your walls in perfect condition.
If you’re planning a wall makeover, why not replace that old wallpaper with a fresh, modern, and stunning MagicDecor wallpaper? Our collection offers luxurious, high-quality designs that are easy to install and remove, ensuring a hassle-free transformation for your space.
Ready for a fresh new look? Explore our premium wallpaper collection today and give your walls the upgrade they deserve!